How to Activate Virgin Media Port Forwarding?

The Virgin Media port forwarding is allow to external devices to access the private network services and applications. It is same as open a opening door in the private network to access traffic to pass through.
If you want to activate Virgin media port forwarding at your home, then this blog help you to do this. Let’s start:
Activate Virgin Media Port Forwarding
By port forwarding you can connect remote computers to specific device in a LAN (Local Area Network). Follow the below given steps to activate:
Access Router’s Interface
- To begin, make sure your computer device connected to the router.
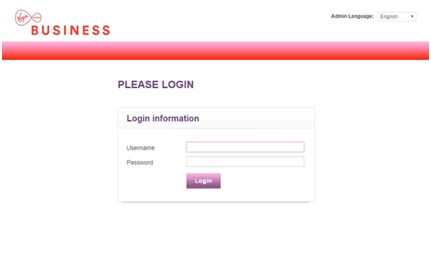
- Then go to the browser on the computer and type 192.168.0.1 into the address bar.
- Login with username and password that set before.
- And perform Virgin router login process.

Go to Port Forwarding
- When you reach out the dashboard or web interface of the router.
- Go to the ADVANCED SETTINGS in the SETTINGS bar.
- After that click on the DHCP option.
- Search for the CONSOL LISTING and get the appropriate IP address.
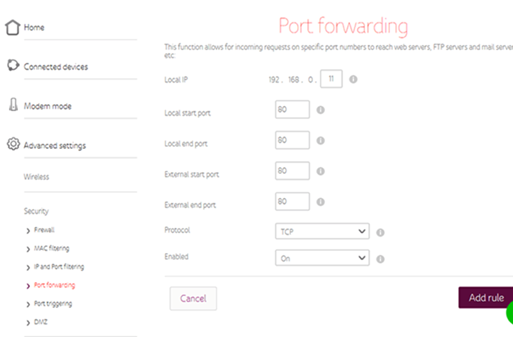
- Again go to the ADVNCED SETTINGS, and then click on the SECURITY.
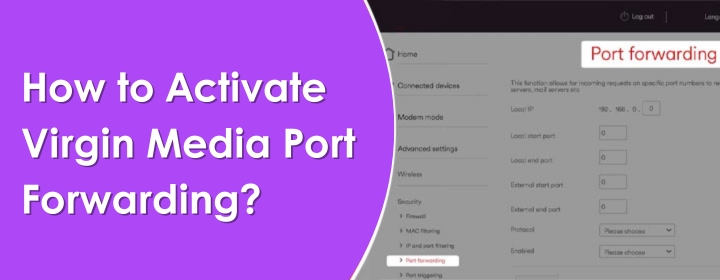
- At last click on the PORT FORWARDING.
Setup Port Numbers
- In the PORT FORWARDING page, see the list of listed fields such as Local Start Port, Local End Port, External Start Port and External End Port.
- Type the port number 80 in the each field, then set the PROTOCOL as TCP, and then click on Add Rule.

- Repeat this process for the port numbers 443, 1935, 3478, 3479, and 3480. Then, repeat the process once more for 3478, 3479, and 3480 but set the PROTOCOL to UDP.
- And click on SAVE button.
If the Port forwarding not working, then properly check all the internal and external connection and device connected to the router properly.
Conclusion
In the above blog, you learn how to setup or activate the Virgin media port forwarding at home with easy to use steps.

 Leo Karlo / January 2, 2025